
Last updated November 15, 2026
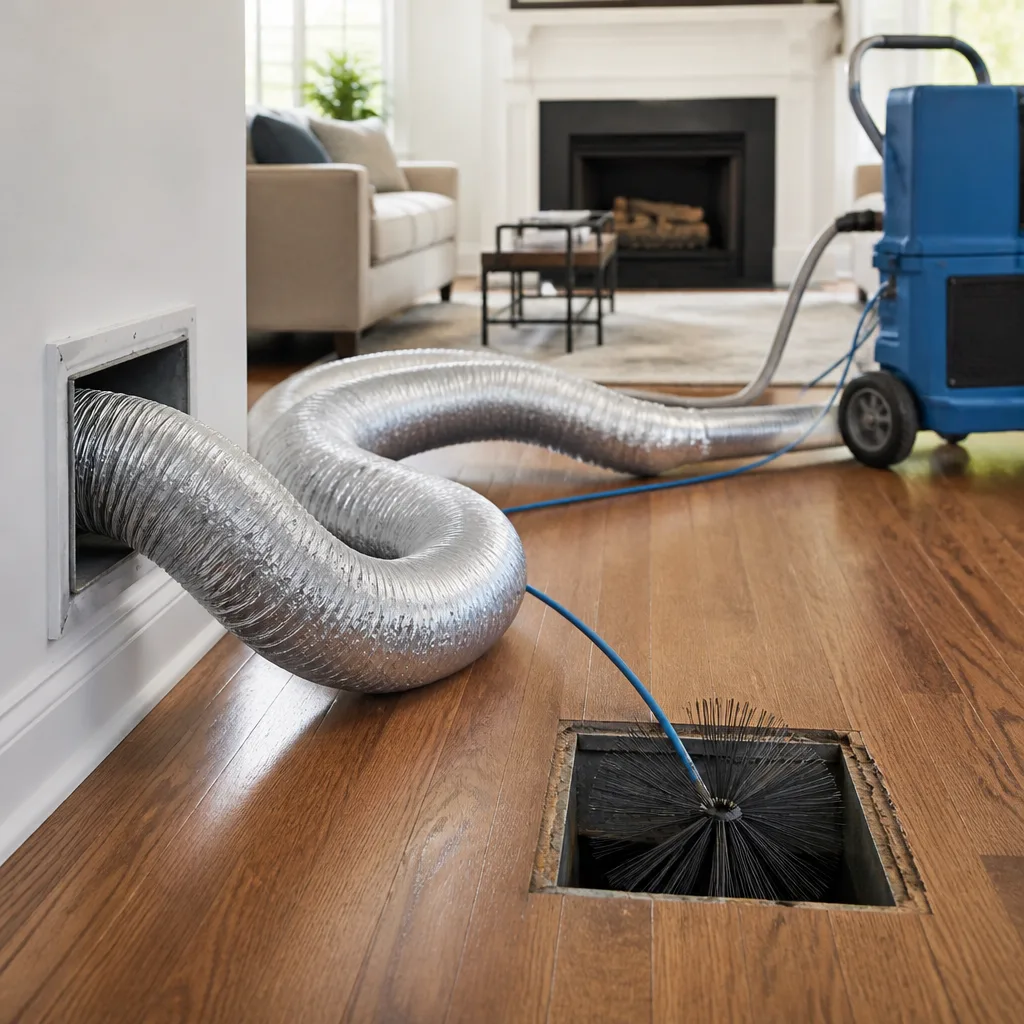 Whole-home duct cleaning
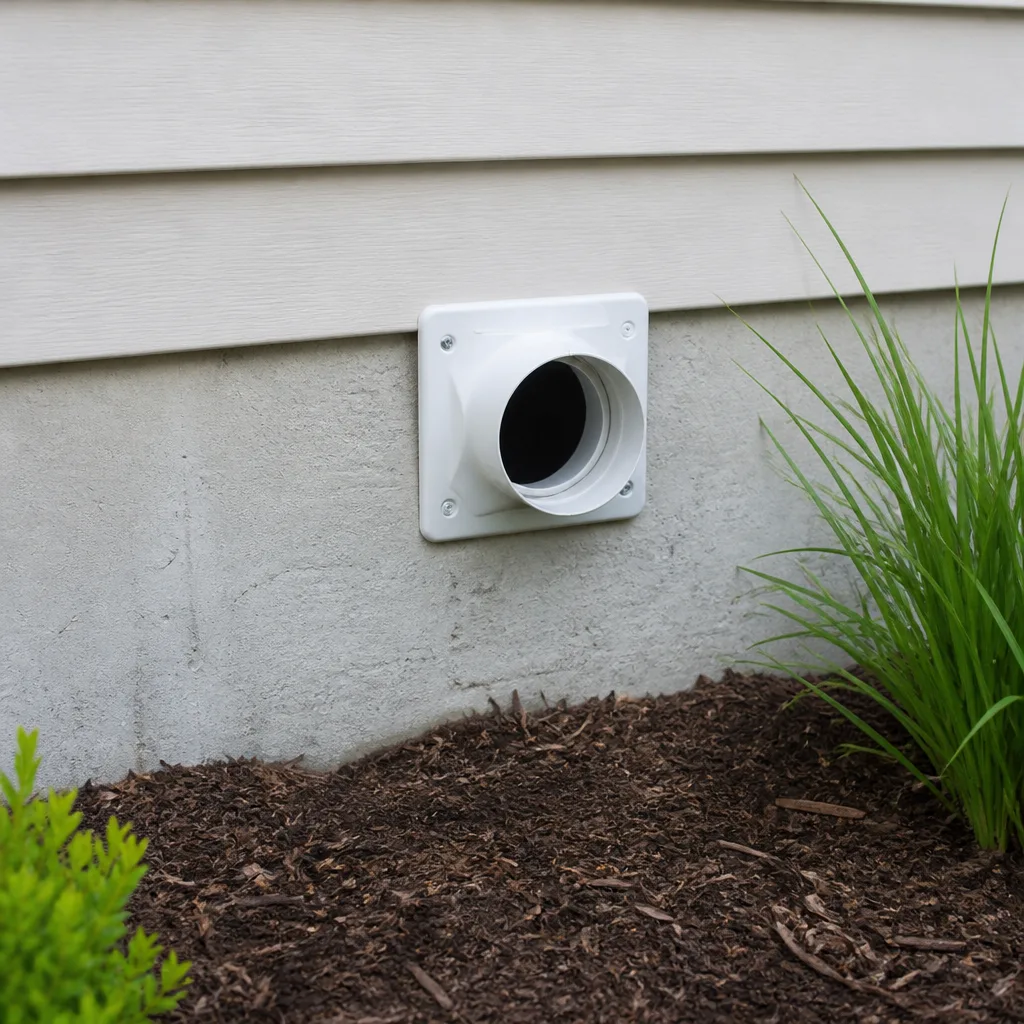 Dryer vent cleaning
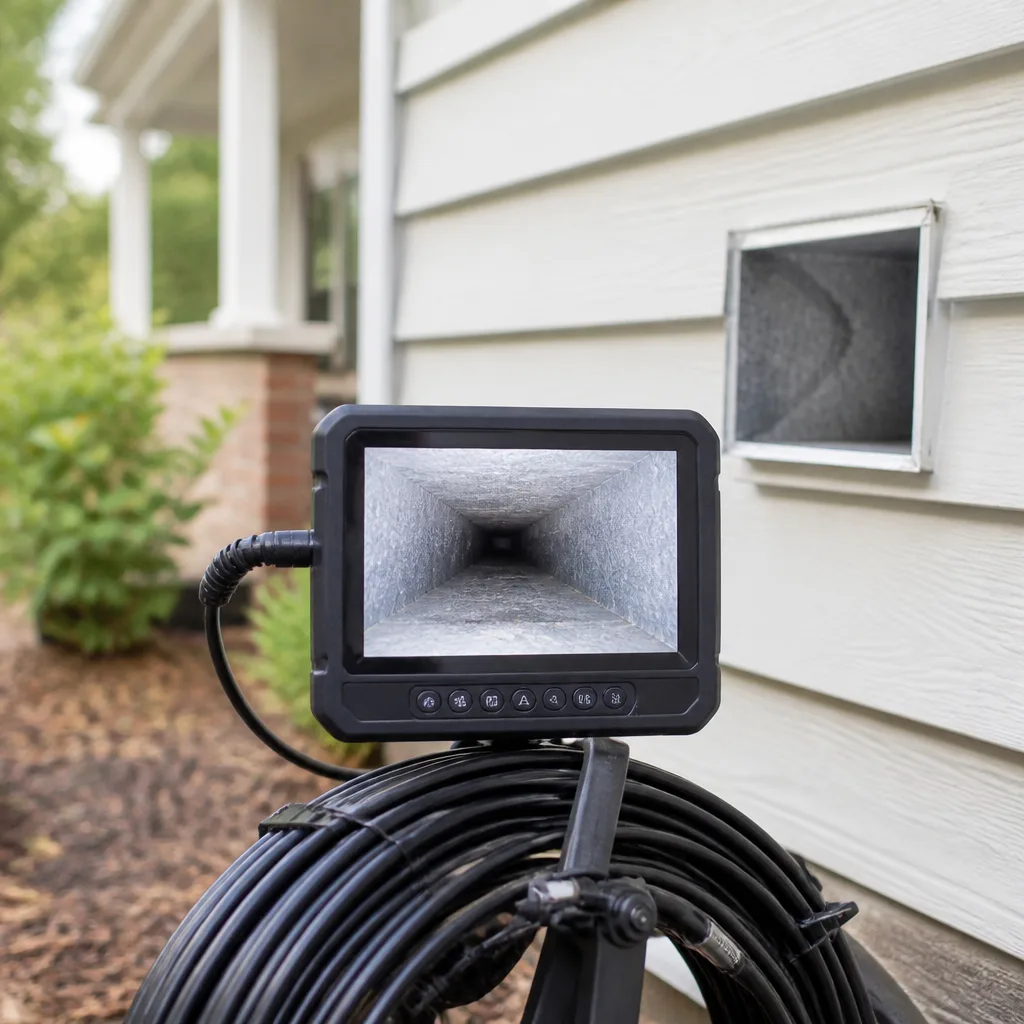 Camera inspection
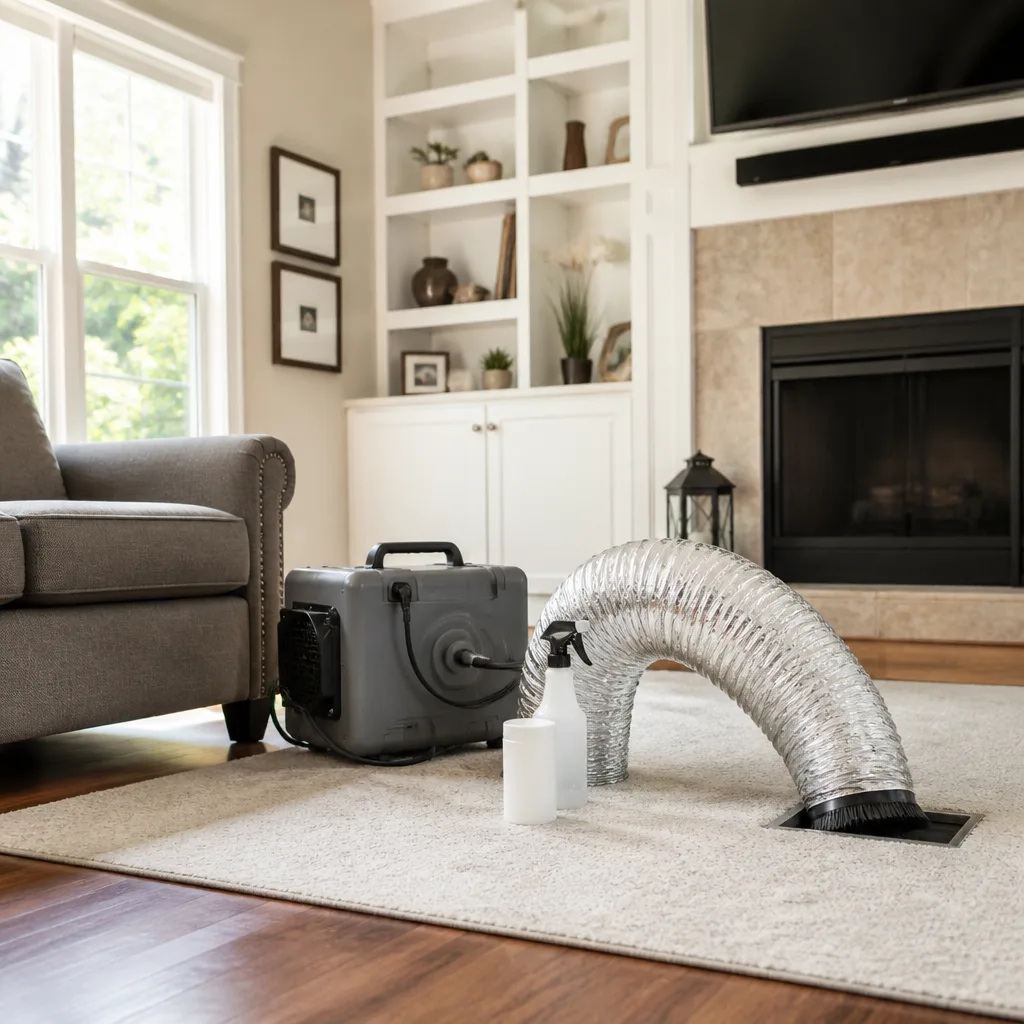 Sanitizing & deodorizing
Whole-system duct and dryer vent check with before-and-after photos - you see exactly what came out of your vents
That "$99 whole-house special" is a bait ad - the real number appears once they are in your hallway, or the "clean" is a shop-vac at the register. We photograph the inside of your ducts before and after instead.
Air Duct Cleaning Maintenance Checklist for Norfolk Homeowners
Most homeowner checklists say “change your filter every 90 days.” That’s a manufacturer default, not a Norfolk answer. A home near the Lafayette River running a system through August humidity loads needs a different cadence than a condo in Ghent with a heat pump that barely stretches its legs. Ductwork maintenance isn’t a calendar reminder, it’s a diagnostic schedule calibrated to how your home actually breathes across the year. In this guide we’ll walk you through register-by-register airflow checks, filter timing tuned to Hampton Roads pollen, the visual signals inside accessible duct sections that mean you’re overdue for an inspection, and what to log after each professional cleaning so you can compare year over year. The goal is catching small failures before they turn expensive.
Quick Answer
A workable air duct maintenance checklist for Norfolk homeowners covers four moving parts: filter inspection on a schedule driven by local pollen and humidity rather than a fixed 90-day default, quarterly airflow checks at every register, an annual visual look at accessible duct interiors and the dryer vent, and a professional cleaning every few years (more often in homes with pets, allergies, or recent renovation dust). Log what you find each time so you can spot a change before it becomes a repair. Norfolk’s long cooling season and humid summers put more load on ductwork than the national average, which is why a system-behavior schedule beats a generic calendar.
Styles & brands we work with
- Whole-home duct cleaning
- Dryer vent cleaning
- Camera inspection
- Sanitizing & deodorizing
Table of Contents
- Why a Norfolk Schedule Beats a Generic One
- How to Self-Assess Airflow at Each Register
- Filter Timing Calibrated to Norfolk’s Seasons
- Visual Signs Inside Ductwork That Say “Inspect Me”
- The Dryer Vent in Your Duct Maintenance Schedule
- What to Log After Every Cleaning
- Seasonal Checklist: Spring Through Fall
- What You Can Check Yourself vs. What Needs Equipment
Why a Norfolk Schedule Beats a Generic One
Norfolk sits in a climate zone where the cooling system runs hard and the heating system runs just enough to matter. That imbalance shapes everything about how ductwork ages here. A system that pushes cool, humid air for six or seven months is working against condensation, dust accumulation, and the fine pollen that settles into return plenums from April through June. A system that only heats for a few months never gets the dry-air cycling that helps keep duct interiors stable in colder climates.
What that means in practice is that the “annual cleaning” recommendation you see on generic HVAC sites lands differently here. Some Norfolk homes genuinely only need a professional cleaning every three to five years. Others, especially older homes in neighborhoods like Larchmont or Colonial Place where ductwork may have been retrofitted into spaces it wasn’t designed for, benefit from closer attention. The variable isn’t the calendar, it’s the system behavior.
Here’s a second local wrinkle. Many Norfolk homes were built before central air was standard, so ductwork was added later, sometimes routed through attic spaces or crawlspaces with less insulation than a newer build would have. Those runs are more vulnerable to leakage, temperature loss, and debris infiltration. If you’re not sure how your ductwork was originally laid out, that’s worth knowing before you build any maintenance expectations. Our team at Duct Cleaning Norfolk looks at that layout on every estimate.
So the schedule below is written as a set of behaviors to check, not dates to circle. Adapt it to what your system tells you.
How to Self-Assess Airflow at Each Register
The cheapest diagnostic tool in your house is your own hand. You can assess airflow at every supply and return register without any instrument, and what you feel will tell you more about your system’s health than a thermostat reading ever will.
Work through the house register by register with the system running. Hold the back of your hand a few inches from each supply grille and note the pressure. You’re not measuring CFM. You’re comparing one register to another. What you want is rough consistency across the whole house, with perhaps slightly stronger flow at registers closest to the air handler and slightly weaker at the far end of the longest run. That gradient is normal.
- Turn the system to fan-only and let it run for a few minutes before you start.
- Hold your hand at each supply register, starting with the one closest to the air handler.
- Note any register that feels significantly weaker than its neighbors, or where flow seems to pulse rather than stay steady.
- Do the same at every return grille. Returns should have steady, strong pull.
- Write down your findings, even the boring ones. A baseline is only useful if it’s written.
What uneven pressure actually indicates depends on the pattern. One weak register in an otherwise strong system often points to a closed damper, a kinked flex run, or a partial blockage at that branch. Two or three weak registers on the same side of the house suggests a problem with the trunk line or a disconnected section. Uniformly weak flow everywhere usually means the filter is loaded, the blower is struggling, or the system is undersized for the space.
One pattern deserves a specific callout. If a register blows noticeably warmer air in summer, or cooler air in winter, than the rest of the house, that’s usually a sign of duct leakage in an unconditioned space. That’s a repair conversation, not a cleaning one. We don’t just clean what’s there. We fix what’s broken, which is why duct repair is a standalone service rather than an upsell.
Filter Timing Calibrated to Norfolk’s Seasons
The 90-day filter rule is a national average. Norfolk doesn’t live on averages. The right filter cadence here changes across the year, and if you follow a single fixed interval you’ll either waste filters or run a loaded one through the worst months.
Here’s how we’d break the year out.
- Late March through May: Pollen season in Hampton Roads is intense, and return air pulls it straight into the filter. Check the filter every three to four weeks during this window. Homes near the Lafayette River and in older neighborhoods with mature tree canopies will load faster than a newer build on an open lot.
- June through September: Cooling season with high humidity. Check monthly. A damp, loaded filter is a poor pairing with a system already fighting condensation.
- October through November: Moderate load. Check every six to eight weeks.
- December through early March: Light heating load. Every eight weeks is reasonable unless you’re running the fan continuously for air circulation, in which case go back to monthly.
Filter type matters as much as timing. A high-MERV filter that restricts flow will cost you more in system efficiency than it saves in captured particles. If your system was designed for a basic filter, don’t drop in a hospital-grade one and assume you’re ahead. Homes with allergy concerns in the household are often better served by improving filtration at the equipment with a dedicated media cabinet than by cranking up filter thickness in a slot that wasn’t built for it. Products from Aprilaire and Honeywell are what we’re most familiar with when we make those recommendations, though we don’t install HVAC equipment.
One more local note: if your home was built or renovated in the last few years and sits near active construction in neighborhoods like Park Place or the growing corridors off Military Highway, expect the first year of filters to load unusually fast. Construction dust takes a while to work out of a system.
Visual Signs Inside Ductwork That Say “Inspect Me”
You don’t need to pull ductwork apart to get a read on its condition. A flashlight and a look inside your accessible registers, return plenum, and any exposed flex runs will tell you a lot.
What to look for:
- Visible dust buildup on duct walls. A light film is normal. A clearly visible layer that you can see from the register opening means accumulation has moved past the “normal” stage.
- Dark streaking at seams and joints. This is often the first visual cue of leakage pulling dirty crawlspace or attic air into the system.
- Loose or detached insulation liner. Interior duct liner that’s peeling or sagging will shed fibers into the airstream and can block airflow at the section where it’s failing.
- Visible debris at the return plenum. This is where most household dust collects first. If you see pet hair, construction grit, or paper scraps in the return, the supply side is likely carrying more than it should.
- Musty smell at any register when the fan kicks on. This one warrants a call. Odor appearing only when the system runs is a signal the airstream is picking something up along the way.
- Pest evidence. Droppings, nesting material, or gnaw marks at duct seams mean ductwork has become a habitat, and cleaning alone won’t fix the entry point.
- Flex duct crushed or kinked. Anywhere a flex run has collapsed on itself is a dead zone that traps debris and cuts flow to the registers downstream.
Practical warning: don’t go crawling into crawlspaces or attics to inspect ductwork unless it’s genuinely safe to do so. Norfolk homes with low-clearance crawlspaces and older attic access points aren’t worth the risk of a fall or a face full of fiberglass. If the entry looks dicey, that inspection is what a professional visit is for. What you can safely check is the register-level view, the filter slot, and the visible run between the air handler and your first takeoff.
The Dryer Vent in Your Duct Maintenance Schedule
Dryer vent condition belongs on a whole-house duct maintenance checklist, not in a separate mental box. The two systems share a failure mode: a long, poorly routed, or partially blocked exhaust run. Lint accumulation in a dryer vent is a well-documented fire risk, and it’s the kind of thing that’s easy to skip because nothing goes wrong until something goes very wrong.
The connection to duct maintenance is this: dryer vents and HVAC ducts both suffer from the same lack of attention. Most homeowners never think about either one until there’s a problem. Both benefit from an initial professional cleaning to establish what “clean” actually looks like, and both then benefit from periodic visual checks from the outside.
What you can check on a quarterly cadence without pulling the vent apart:
- Go outside while the dryer runs. You should feel strong, warm airflow with a slightly humid feel at the exterior vent flap. Weak or absent flow is a red flag.
- Look at the vent flap. It should open freely and close cleanly. A flap that stays partially open or is stuck closed points to a blockage or a failing hinge.
- Check the lint trap housing after every load. Any lint you’re finding around the housing rather than in the trap is lint that’s bypassing the trap.
- Look for visible lint at the exterior vent opening. Any visible accumulation at the flap is a sign of pending blockage inside the run.
- Check the bend count. Count how many times the vent run bends between the dryer and the exterior. Every bend increases the risk of accumulation.
Any of those five checks failing means the vent needs attention from someone with the right equipment. Dryer vent cleaning is a dedicated service for us, not an add-on. When we’re doing dryer vent cleaning we’re running the same class of thoroughness and equipment we’d bring to a full duct job, because the stakes are different in kind, not in degree.
What to Log After Every Cleaning
The single biggest mistake homeowners make is not keeping a record. Without a log, every future cleaning is a “first inspection,” which means no one, including you, can tell you whether the situation improved, held steady, or got worse. If you want to compare years, start writing things down.
What to capture after each professional cleaning:
- Date of service and the name of the company and technician who did the work.
- Method used. Ask specifically what equipment was run. Rotary brush, HEPA vacuum, negative-air containment, and manual agitation are all different things, and knowing what was used tells you what was actually removed.
- Number of registers and returns serviced. This catches the “we cleaned two ducts and left” pattern that a certain brand of duct-cleaner is famous for.
- Debris volume and type. If the technician can tell you whether the load was light dust, heavy pet hair, construction debris, or mold-like growth, note it. That’s a baseline for the next inspection.
- Condition photos before and after. These are the proof that the work was done. Keep copies.
- Condition findings on ductwork. Leaks, disconnects, crushed flex, damaged liner, and any interior damage that will need repair before the next cleaning.
- Filter condition at the time of service. If the filter was loaded heavier than expected, you know the cadence above needs to tighten.
- Any recommendations the technician made for accessories, filtration upgrades, or scheduled follow-up.
If you keep nothing else, keep the before-and-after photos and the register count. Those two items alone make future conversations concrete, and they protect you from the bait-and-switch operators that give this industry a bad name.
Seasonal Checklist: Spring Through Fall
Here’s the same maintenance schedule organized by season. These are Norfolk-focused because the local year shapes the load on the system, but the structure applies broadly to any mid-Atlantic home.
Spring (March through May)
- Change or clean the filter every three to four weeks until pollen subsides.
- Do a full hand-test airflow check at every register after the first warm week.
- Open the dryer vent flap from outside and confirm strong airflow once the warm weather settles in.
- Look inside accessible returns for winter accumulation, especially in homes with pets.
Summer (June through August)
- Monthly filter checks. No exceptions.
- Watch for musty smell at any register, especially after a storm that raises indoor humidity.
- Recheck indoor humidity if the system seems to struggle. Norfolk summer humidity is a legitimate load on cooling performance.
- If you’ve been running the fan continuously, expect more filter load and check weekly.
Early Fall (September through October)
- Filter back to every six to eight weeks as the cooling season winds down.
- Before you switch to heating, do another airflow check. A system that ran cool air all summer can develop new restriction patterns from the heating side, especially if dampers were seasonally switched.
- Dryer vent flap check again. Fall’s the time when a partially blocked vent becomes a fire risk during heavier laundry loads.
Late Fall (November)
- Run the heating system for a full test cycle and check the registers for even warmth.
- Book any professional cleaning you’re planning so it’s on the calendar before the busy season.
- Review your log from the last cleaning. If it’s been three years or more, or if there’s been any renovation, that’s the trigger point.
What You Can Check Yourself vs. What Needs Equipment
Some of this checklist is yours. Some isn’t, and it’s worth being clear about which is which so you don’t hurt yourself chasing something that isn’t in your control.
What a homeowner can genuinely do:
- Hand-test airflow at every register
- Inspect and replace filters on the schedule above
- Visually check accessible returns and supply openings
- Check the dryer vent flap and airflow from outside
- Keep a maintenance log
- Note smells, sounds, and temperature differences that appear only when the system runs
What needs professional equipment:
- Actual removal of accumulated debris from duct interiors
- Negative-air containment to keep debris out of the room while it’s being removed
- Rotary brush agitation to break up bonded material on duct walls that a vacuum alone won’t lift
- Duct leakage diagnosis and repair, from disconnected sections to failed seams
- Full dryer vent cleaning past the visible bend
- Filtration or accessory recommendations with the right equipment specs
The piece homeowners most often get wrong is thinking a shop vacuum and a ladder approximates a proper duct cleaning. It doesn’t. A shop vac pulls debris toward the opening you’re working from, but it also stirs loose material back into the room. The tools we run, including Rotobrush rotary brush systems and Nikro HEPA-filtered vacuums, plus Abatement Technologies negative-air containment, exist to capture what’s loosened instead of redistributing it. That’s a difference you’ll notice in the air afterward, and in what you don’t find settled on the shelves next week.
Common Mistakes to Avoid
- Following the 90-day filter rule in Norfolk. Local pollen and the long cooling season load filters faster in spring and summer than the national default assumes. You’ll either run loaded filters or throw away good ones.
- Skipping the dryer vent. A whole-house duct list that doesn’t include the dryer vent leaves out the piece with the most direct fire risk. It’s a quarterly visual check, not a one-time fix.
- Calling whoever’s cheapest. The industry has a well-earned reputation for the bait-and-switch, where a low coupon price becomes a much larger invoice once the technician is on site. Ask what equipment will be used and how many registers are included before anyone shows up.
- Trusting a cleaning without photos. Before-and-after shots of your own ducts are the only real proof of work. If a company won’t provide them, that tells you something.
- Cleaning without checking for leaks first. A system with a disconnected run will be dirty again within weeks. The cleaning needs to be paired with a look at the ductwork condition.
- Ignoring a musty smell. Odor appearing only when the fan runs is a signal, not a coincidence. Duct cleaning alone won’t fix active moisture problems, but identifying the source is the beginning.
- No log, no baseline. Without one, every future cleaning is guesswork, and every future quote is impossible to sanity-check.
See the difference
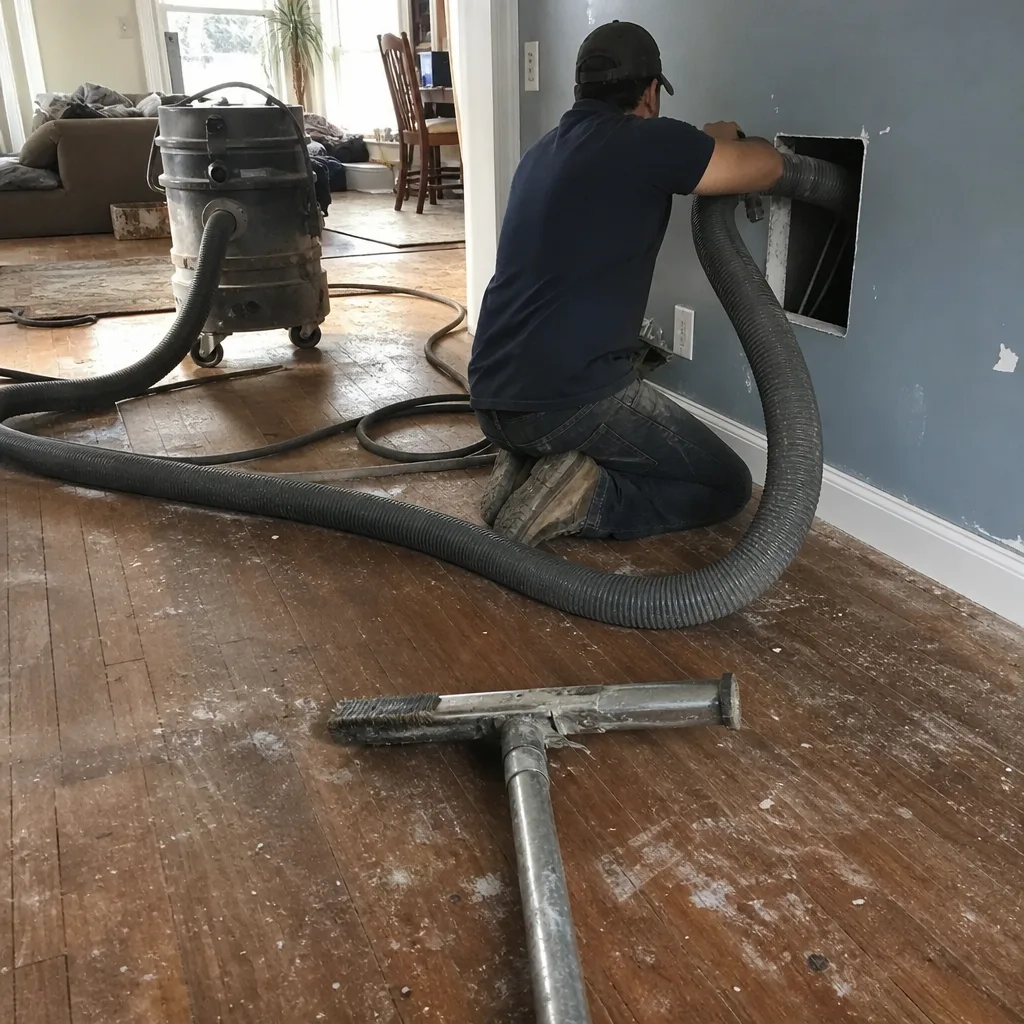 Before
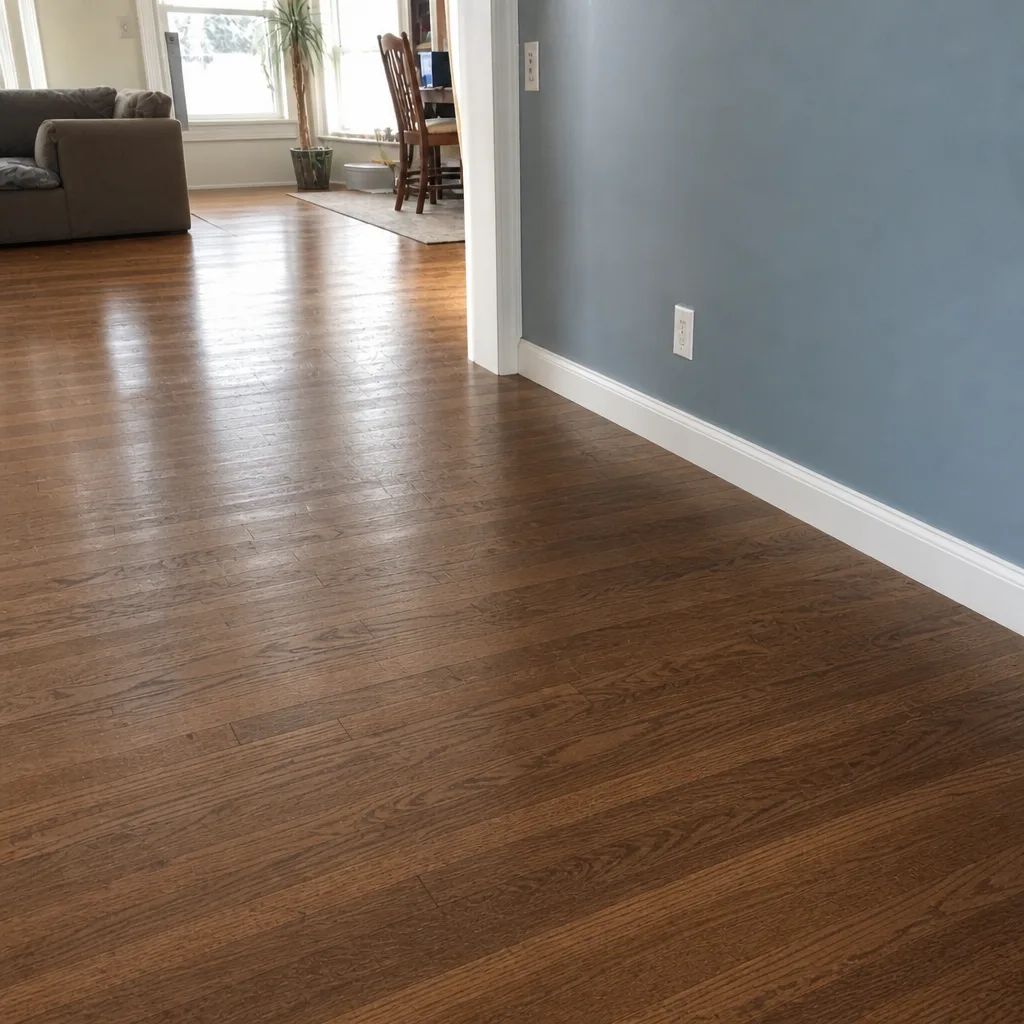 After
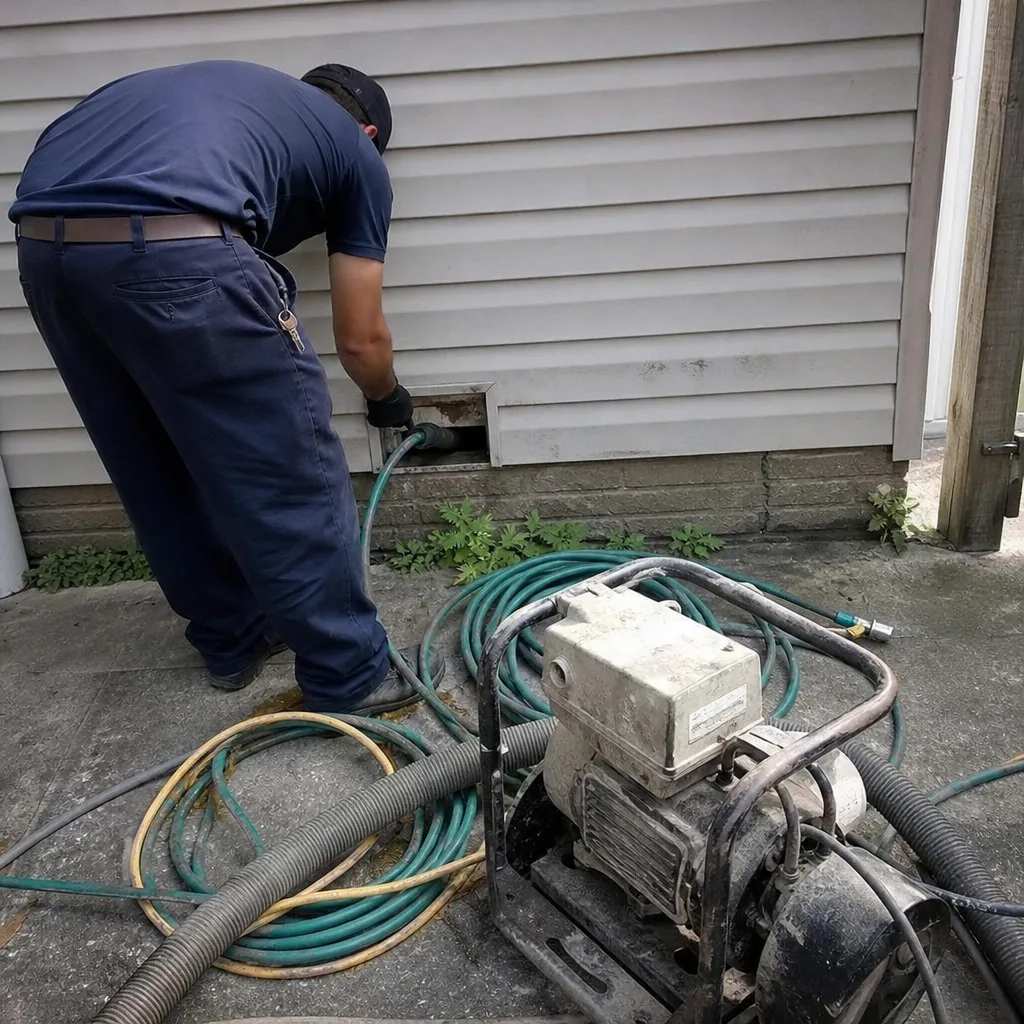 Before
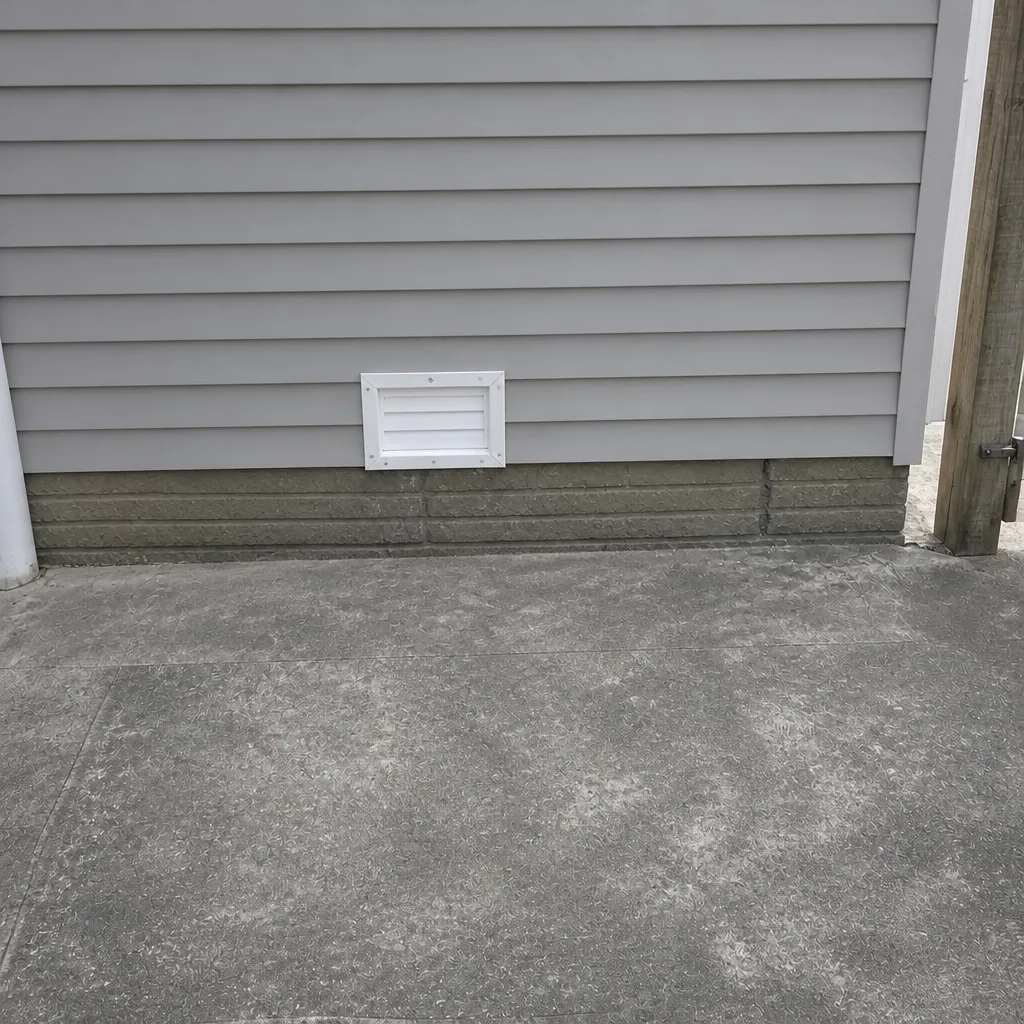 After
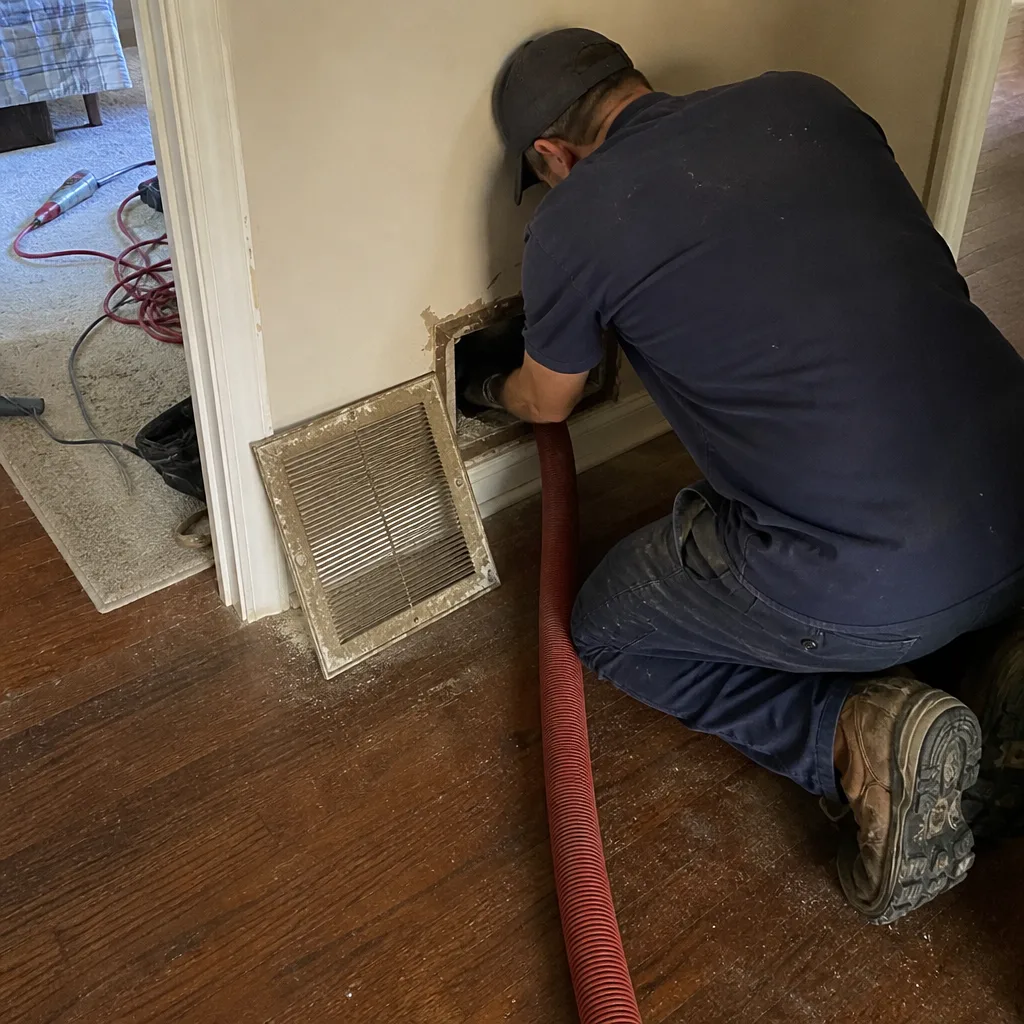 Before
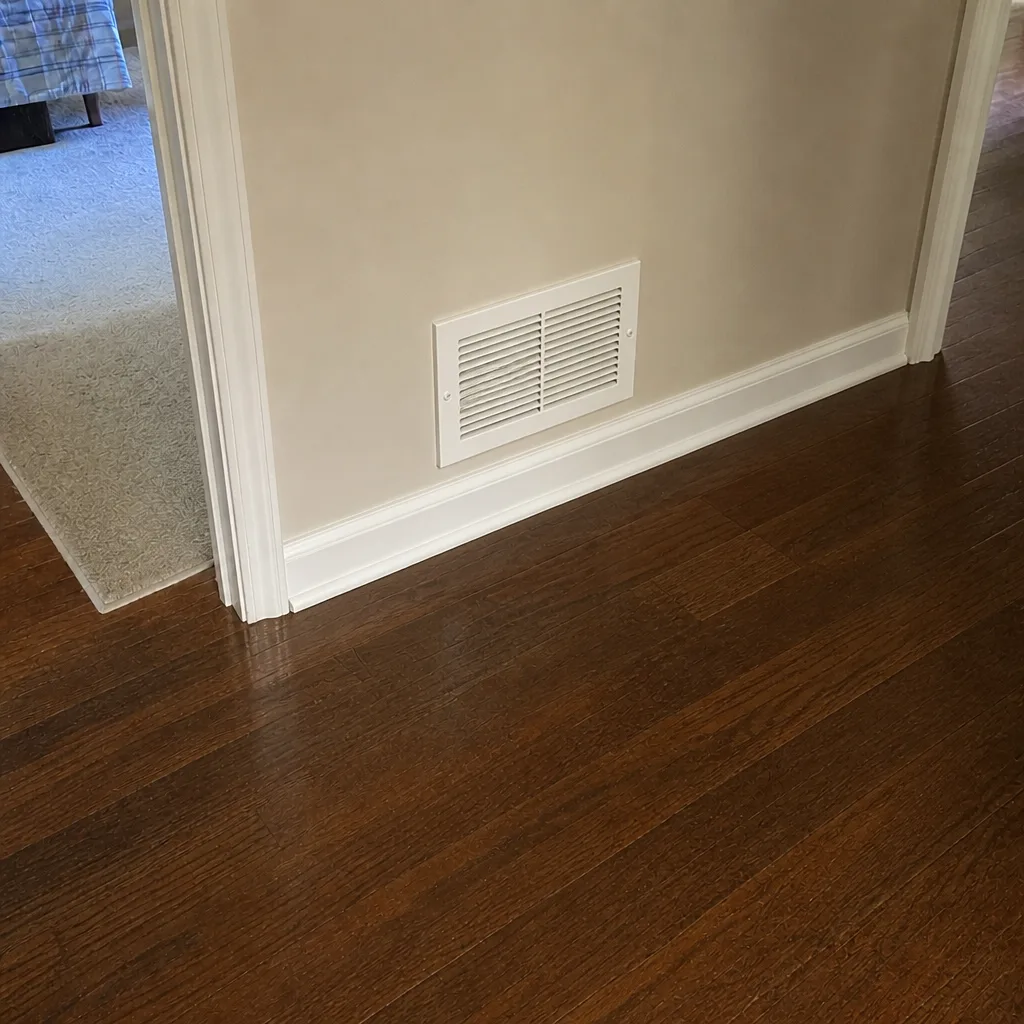 After
When to Call a Professional
Here’s when to stop reading and pick up the phone.
Call if your registers show noticeably uneven airflow that you can’t explain by a closed damper or a fresh filter. Call if the supply air temperature is clearly off from register to register, which usually means a leak somewhere you can’t see. Call if there’s a musty smell at any register only when the system runs. Call if you can see visible debris accumulation inside a return plenum or an accessible duct section. Call if the dryer vent shows weak exterior airflow or obvious lint buildup at the flap. Call if your log shows it’s been three or more years since the last cleaning, or sooner than that if a renovation, a pet addition, or a recent home purchase changed the load on the system.
Duct Cleaning Norfolk offers free estimates in Norfolk. Call (833) 519-7500. We’ll run through the checklist with you, verify what’s actually needed, and give you a written estimate before any work starts.
Frequently Asked Questions
Most Norfolk homes need a professional cleaning every three to five years, but that range moves with the household. Homes with pets, allergy concerns in the family, recent renovations, or a history of smoking indoors land on the shorter end. Homes with a clean log showing minimal accumulation between visits can go longer. The right cadence is set by what your inspection turns up, not by a calendar default.
It isn’t always necessary. A well-maintained system with clean filters, sealed ductwork, and a log showing light accumulation since the last cleaning can go years without a professional visit. That said, “seems to work fine” is not the same as “is working as designed.” Uneven airflow and leakage are usually invisible from the thermostat. A visual inspection at the registers is the right starting point.
Air duct cleaning removes accumulated debris from duct interiors. Duct repair addresses damage to the duct system itself, including disconnected sections, crushed flex runs, failing seams, and damaged interior liner. A system with duct leakage will be dirty again long before its next scheduled cleaning, which is why the two are handled together. Our team can look at the cleaning need and repair needs in the same visit.
Usually because they cover much less work. The lowest quotes often assume fewer registers, cover no containment, or use basic shop-vac style equipment without the negative-air setup that keeps debris out of the living space. Once the technician arrives, the price moves up to match the actual job. The honest approach is a written estimate per job, given before the work starts, with the register count and equipment spelled out.
Before-and-after photos of your own ducts, taken inside your system during the service. That’s the proof, not the invoice or a verbal description. The register count on the estimate and completion notes should match what actually got serviced. If a company can’t produce photos, treat the work as unverified. When we run air duct cleaning we leave the photos with the homeowner as a matter of routine.
It’s efficient to handle both in one visit, but the reason to book dryer vent cleaning isn’t convenience. Dryer vents are a leading cause of residential fires in the U.S. and lint accumulation is what drives the risk. A quarterly visual check from outside catches most pending blockages early. When a check shows weak airflow or visible lint at the flap, that’s the trigger for a dedicated cleaning, and it makes sense to coordinate it with a scheduled duct visit.
The Bottom Line
Duct maintenance in Norfolk gets better if you stop thinking of it as a calendar date and start thinking of it as a schedule calibrated to your home. The 90-day filter rule doesn’t hold up against local pollen and humidity, the register-by-register hand check is the cheapest diagnostic you’ll ever run, and the dryer vent is part of the same system, not a separate chore. What you log after every cleaning matters more than what any single inspection turns up, because the log is what lets you spot change. Norfolk homes are unusually variable. The checklist works because it adapts to what your system is telling you, not because it fits a fixed interval. Our technicians have up to 14 years of experience with this trade and can read the signals quickly.
Ready to check where your system actually stands? Call Duct Cleaning Norfolk at (833) 519-7500 for a free estimate. We answer 24/7. Fast dispatch from 7am to 7pm, Sunday through Friday. Cleaning, repair, and dryer vent safety under one roof, with the equipment to handle each properly.
Written by the team at Duct Cleaning Norfolk.